
· by Michael Blair, Nashville's Handyman Service
A drywall patch either disappears or it doesn’t, and in our experience the filling is rarely what decides it. What decides it is how far the compound is feathered out, whether the patch was primed, and how light falls across the wall afterward, which is where most of the time on our drywall patching jobs goes.
How do you patch each size of drywall hole?
For nail holes and small dents we fill with compound in two thin coats and sand between them. For holes up to a few inches across we use a self-adhesive mesh patch and bed it in compound. If the hole is where a shelf anchor tore out, our post on hanging heavy things covers fixings that hold without starting the next repair.
Anything larger we cut back to a clean rectangle and back with a wood batten or a piece of new drywall, then tape and finish the seams. The tape is bedded in wet compound, the way USG’s submittal for its Sheetrock Total Lite joint compound describes the first coat: a thin layer of compound over the joint with the paper tape embedded in it.
Feathering is the whole job
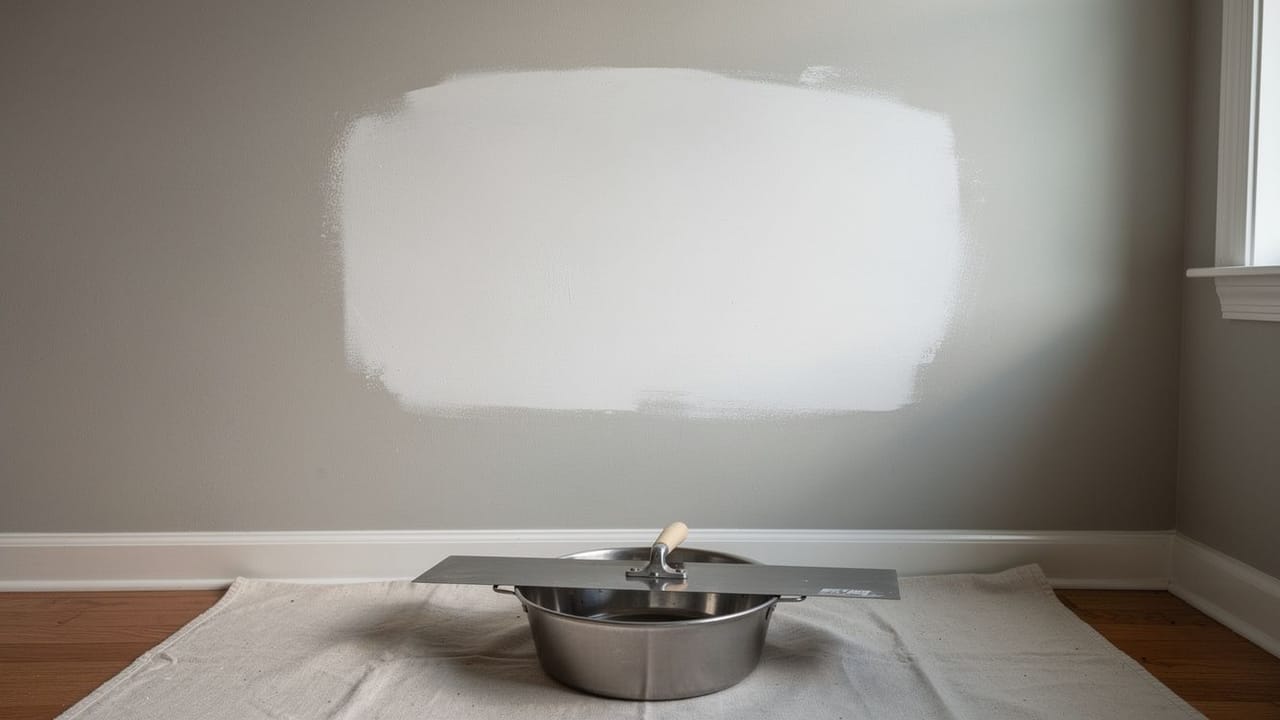
A patch shows because the compound sits proud of the wall, or dips below it, over a small area. USG’s sheet is blunt about it: recesses or ridges “can result in distinct shadows in critical light.” So each coat runs wider than the one before. USG feathers the second coat about 2 inches beyond the first and the third about 2 inches beyond the second, and the Gypsum Association’s finishing standard, GA-216, has a third coat on a joint feathered out about 6 inches from its center. On a patch in a hallway or beside a window, where daylight rakes along the wall, we often take it wider than that.
We work in thin coats and let each one dry before the next, which is the sequence USG’s instructions lay out. We also mix the compound the way the bag says instead of thinning it to spread easier, because USG warns that over-dilution causes abnormal shrinkage and a poor bond. Once the last coat is dry and sanded, GA-216 calls for a damp sponge to take the dust off before any paint goes on.
Sanding old paint around a patch is a different matter in a house built before 1978. The EPA’s Renovation, Repair and Painting program requires anyone paid to disturb painted surfaces in those homes to be certified in lead-safe work practices, though it generally doesn’t apply to homeowners working on their own house. Under the federal rule’s definitions in 40 CFR 745.83, interior work that disturbs 6 square feet or less of painted surface per room counts as minor repair and maintenance, provided none of the prohibited work practices are used.
- Cut damage back to a clean rectangle
- Back larger holes with a wood batten or a piece of drywall
- Three coats, each feathered wider than the last
- Check the sanding with a light held low along the wall
- Wipe off the dust with a damp sponge
- Prime the patch before painting
Why does a drywall patch show through the paint?
Bare compound and the paper face of drywall take up paint at different rates, so an unprimed patch can show through the paint even when the fill is perfectly flat. USG’s submittal for Sheetrock First Coat primer puts it down to differences in porosity and surface texture between the face paper and the finished compound, and names the result joint banding or photographing. On a single patch we call it flashing.
Primer goes on before paint. GA-216 calls for a good quality drywall primer before decoration, and USG’s compound sheet says that where the final appearance is critical, a flat drywall primer with high pigment solids tends to minimize most decorating problems. Sheen raises the stakes, since USG notes these problems are magnified by gloss paints, so on a wall with any sheen we usually repaint corner to corner instead of spot-touching the patch.
Texture
Many walls are textured, usually orange peel or knockdown, and on those we match the texture as well as the plane, since a smooth square in a textured wall is easy to spot. The order matters: GA-216 calls for a drywall primer compatible with the texture material before any water-based texture goes on, so the patch is primed, textured, and then painted.
On small patches we use aerosol texture, testing the spray distance on a piece of cardboard first and building it up in light passes instead of one heavy coat. Knockdown also has to be flattened with a knife at the right moment, which takes practice. If it’s a whole wall, or one you look at every day, ask us for a free estimate before you start.
Sources
- USG, Sheetrock Total Lite Joint Compound submittal (J2069, 2025) — Tape embedded in a thin layer of compound; each coat feathered about 2 inches beyond the last; let dry between coats; over-dilution causes shrinkage and poor bond; recesses or ridges show as shadows in critical light; flat high-pigment primer where appearance is critical
- USG, Sheetrock First Coat Primer submittal (J1095) — Joint banding and photographing come from porosity and texture differences between face paper and compound; magnified by gloss paints
- Gypsum Association, GA-216-2010 Application and Finishing of Gypsum Panel Products — Third coat feathered about 6 inches from the joint center; damp sponge to remove dust; drywall primer before decoration; compatible primer before water-based texture
- US EPA, Renovation, Repair and Painting Program — Paid work disturbing paint in pre-1978 homes requires certification; generally does not apply to homeowners in their own home
- 40 CFR 745.83, Definitions (2023 edition) — Minor repair and maintenance: 6 square feet or less of painted surface per room for interior work, with no prohibited work practices
FAQ
Patching Drywall So the Repair Disappears — questions
Why can I still see my drywall patch after painting?
Usually one of two things: the compound was not feathered far enough, so the patch stands proud in a small area and catches raking light, or it was not primed, so the paint took up differently over bare compound than over the paper face of the drywall. Both are fixable, with more feathering in the first case and a coat of drywall primer in the second.
How wide should I feather a drywall patch?
Wider than feels necessary. Each coat should run past the edge of the last, and USG’s instructions feather each new coat about 2 inches beyond the one before. On a patch beside a window we often go further. The aim is a transition so gradual that no shadow line forms under light raking across the wall.
Can I match textured walls?
Often, on a small patch, with aerosol texture products, provided you practice the spray pattern and distance on cardboard first and build up in light passes. Prime the patch before texturing, since the Gypsum Association’s finishing standard calls for a compatible primer before water-based texture. Knockdown also needs flattening with a knife at the right moment. Matching is a skill, and on a prominent wall it is worth someone who does it regularly.
How do you paint a drywall patch?
Wipe the sanded patch with a damp sponge, then prime it with a drywall primer before any paint goes on; USG suggests a flat primer with high pigment solids where the finish matters. On a wall with any sheen, we repaint corner to corner instead of touching up the patch, since gloss magnifies the difference.